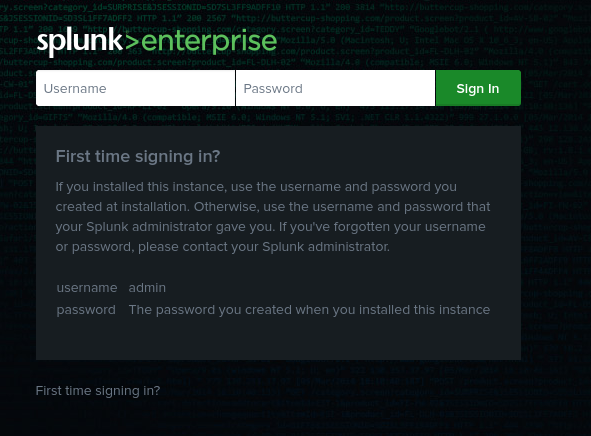
Foundations of Splunk SIEM Platform
Splunk is a software platform designed for searching, monitoring, and analyzing machine data generated from various sources such as applications, servers, and network devices. It provides real-time visibility into your entire infrastructure and helps in troubleshooting, performance monitoring, and security analytics.
Introduction
In today’s data-driven world, enterprises want powerful tools for analyzing, monitoring, and securing their rapidly increasing digital ecosystems. Splunk is a sophisticated platform that helps businesses search, monitor, and analyze machine-generated data from a variety of sources. Splunk can provide useful real-time insights into system logs, network traffic, and security events.
This article will explain what Splunk is, how it works, and how to install and setup it on Kali Linux, one of the most popular operating systems for cybersecurity professionals.
What is Splunk?
Splunk is a data platform that collects, indexes, and visualizes machine-generated data in real time. It enables experts to gain insights from complicated data patterns and logs, making it important to system administrators, security analysts, and developers.
Some of the most common use cases are:
- Security monitoring involves detecting and responding to security incidents in real time.
- IT operations: Monitor server performance, error logs, and network health.
- Application Management: Use application logs to efficiently diagnose issues.
Splunk can collect data from a wide range of sources, including log files, network traffic, event logs, and more. It then searches and correlates this data, allowing you to identify patterns, trigger alerts, and create dashboards.
Key Features of Splunk
- Data indexing: Splunk’s real-time ability to ingest and index massive amounts of data makes it simple to search through it.
- Search and Analysis: For data querying and analysis, it offers a strong search processing language (SPL).
- Dashboards and Visualizations: To see their data insights, users can build interactive dashboards.
- Alerts and Monitoring: Users can enable proactive monitoring with Splunk by setting up alerts for particular events.
- Extensibility: It may be customized for a range of use cases by supporting a number of apps and add-ons that improve its functionality.
- Security Features: Splunk is useful for security information and event management (SIEM), which offers insights into compliance and security incidents.
Prerequisites for Installation
Before installing Splunk on Kali Linux, ensure that you have the following:
- Kali Linux/Ubuntu (or any supported version)
- Sufficient disk space (at least 40 GB recommended)
- Access to a terminal with root privileges
Installing Splunk on Kali Linux
Follow the steps below to install and set up Splunk on Kali Linux.
Step 1: Update Your System
Start by updating your package list and upgrading existing packages:
Step 2: Download the Splunk Installer
Splunk is accessible in three different versions: Enterprise, Cloud, and Free. For testing and learning, the Splunk Free edition is adequate because it provides the majority of the key functions without requiring a license.
- Open your terminal in Kali and navigate to the Splunk Download Page.
- Choose the Linux version and download the
.tgzpackage.
You can use the terminal to download the package directly with wget:

Step 3: Extract the Downloaded File
Once the download is complete, extract the tarball:
Step 4: Enable Splunk to Start
To ensure Splunk starts automatically at system boot, run the following command:

Access the Splunk Web Interface
Once Splunk is running, you can access its web interface by opening a web browser and navigating to:

