IBM Qradar SIEM Setup
IBM QRadar is a robust security information and event management (SIEM) solution for security threat detection and analysis. This guide will walk you through the process of installing QRadar 7.5.0 on a VMware virtual machine, enabling you to set up a powerful SIEM system in your lab environment.
What is IBM Qradar?
IBM QRadar is a comprehensive SIEM solution designed to help organizations detect and respond to security threats. It integrates log management, network flow data, and vulnerability management to provide a holistic view of an organization’s security posture. Key features include:
- Advanced Threat Detection: Uses AI and machine learning to identify potential threats.
- Centralized Log Management: Collects and analyzes logs from various sources.
- Network Flow Analysis: Monitors network traffic for anomalies.
- Scalability: Suitable for both small and large enterprises.
- Integration: Easily integrates with various security tools and platforms.
Why Choose Qradar ?
- Comprehensive Security Monitoring: QRadar’s ability to correlate data from multiple sources ensures thorough monitoring.
- Ease of Use: User-friendly interface and customizable dashboards.
- Advanced Analytics: AI-driven insights for proactive threat hunting.
- Compliance: Helps meet regulatory requirements with robust reporting capabilities
- VMware Workstation
- QRadar 7.5.0 ISO file: Downloaded from the IBM website.
- Minimum of 8 CPUs
- 16 GB RAM
- Minimum 250 GB storage
Download From here – Click Me
Setup the Qradar SIEM
First, download the QRadar 7.5.0 ISO file from the IBM website. Ensure you have the necessary permissions and entitlements to access the download.
Step 1: Download the QRadar 7.5.0 ISO File
Open VMware Workstation/Player. Then Click on “Create a New Virtual Machine”. Choose the option typical and proceed then Click Next and select Linux as the guest operating system, with Red Hat Enterprise Linux 7 as the version.


bSet your Virtual machine name and your storage path, where you want to store and the most important and tricky part is on this space. So I’m going to give it 200 gigabytes then you need to set up a couple of things. Number one is the number of cores. The documentation asks for a minimum of four cores. I’m going to give it 8 because I have those available. I’m going to give it 16 GB RAM because I have that amount of memory(In this picture you can see I give 12 GB RAM, but I remind you it’s not a good idea because you face an external storage issue and maybe an extension installation issue).
And going back here. In terms of networking, you need to specify whatever your networking is. In my case, this is the network I’m going to be using.


Step 4: Installing QRadar
Power on the virtual machine.
The QRadar installer will boot from the ISO file. Follow the on-screen instructions to start the installation process. In the images you can see, it rebooted after around 9 minutes, and after a few seconds, it rebooted again. So, hit enter again. This process easily can take half or one hour.


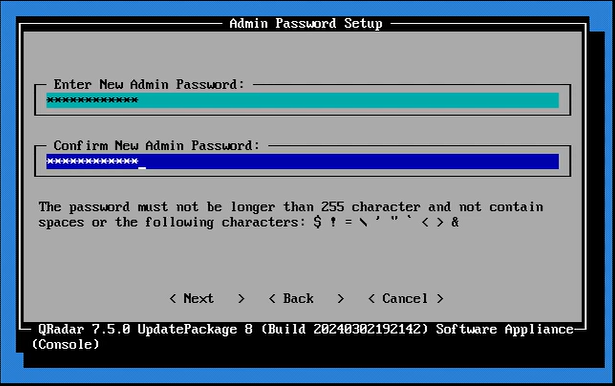
Put the password for the first time and hit the space bar for the license until the bottom of it. And if you agree, you’re going to put here yes.


After configuring the settings, start the virtual machine. Ignore any side-channel mitigation messages and proceed with the default installation options. This process can take some minutes, so be patient this is a very important part.


Configure the time zone
Then Configure the network settings:
I’m using IPv4.


That’s the MAC address. Select default here,
Set up the hostname and then Assign a static IP address, gateway, and DNS servers.
Apply network settings.


Step 4: Post-Installation Configuration
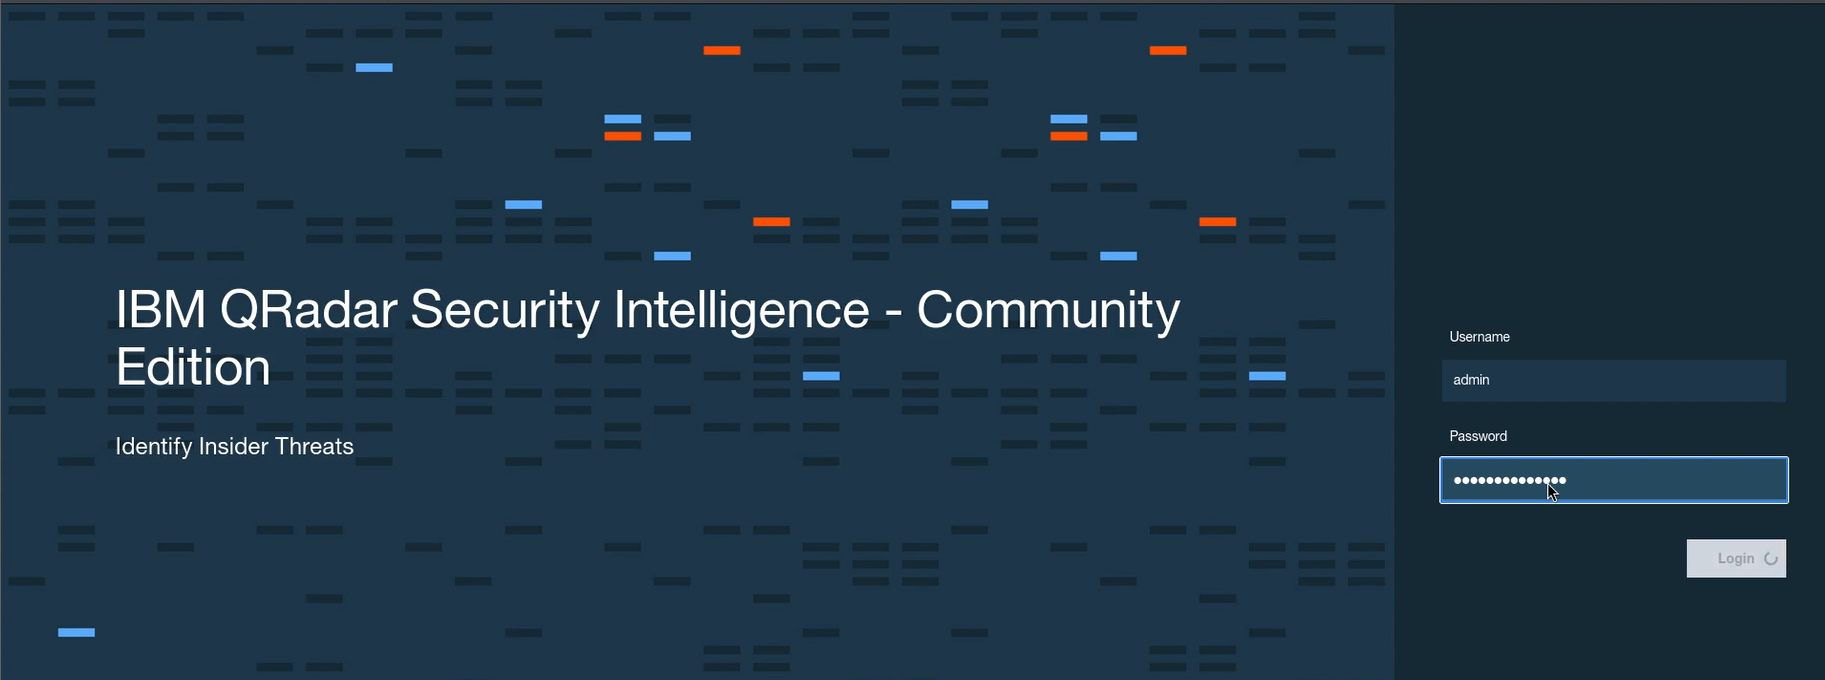
Log in with the admin credentials you set up during the initial configuration. Access the QRadar web interface by navigating to the IP address of your VM in a web browser (https://<VM-IP>).

